This post is for those of you who are wondering why your photos are blurry. Since a blurred photo cannot be fixed, this guide presents the 5 factors in how to get sharp photos.
Sharp photos depend on focus accuracy, shutter speed, depth-of-field, atmospheric conditions, and gear. This guide will introduce to each element and how. Jump to the conclusion.
Table of Contents
- How to get sharp photos with autofocus
- Using fast shutter speeds to get sharp photos
- How depth of field affects sharp photos
- How atmospheric conditions limit sharpness
- Gear
- Conclusion
1. How to get sharp photos with Autofocus
The path to learning how to take sharp photos begins with accurate focus and a little knowledge of your camera’s focus modes.
Taking sharp photos with AF-S
Broadly speaking, your camera has two focus modes. The first is AF-S, or servo, and works by locking onto your subject’s position.
However, once locked, AF-S does not react and reacquire focus if your subject moves. As a result, your photo is focused on where your subject was when you locked focus, not where there were when you took the photo.
If AF-S is all you have, you can take a sharp photo by reacquiring focus manually by releasing and repressing the shutter release button each time your subject moves.
Though clunky, such a workflow is perfectly adequate for slower subjects.
Sharp photos with AF-C
Although AF-S is effective for shooting static scenes and idle subjects, sharp photos of moving subjects require AF-C. Unlike AF-S, AF-C (continuous) continues to adjust focus as your subject rears and nears.
However, autofocus is less accurate and sure-footed with AF-C. On any occasion, you might find AF-C cannot keep up and falls behind your fast and/or erratic subject.
There are two ways to ease this problem. One is to increase your depth of field. By selecting a smaller aperture, your depth of field increases, and your autofocus can be less precise, resulting in more sharp photos.
If that’s not enough, you might need to use a lens with a faster autofocus motor attached to a camera that can keep up with the action.
2. How to get sharp photos with fast shutter speeds
Avoid Camera shake blurring your image
When using overly slow shutter speeds, your camera will capture the shake caused by the involuntary movement of your hands, resulting in a thoroughly blurred photo.
To find out the ideal shake-free shutter speed, try the reciprocal rule. The reciprocal rule states your shutter speed should be no slower than your lens focal length. For example, if you are shooting with a 50mm lens, your shutter speed should be no slower than 1/50th of a second. Learn about focal length.
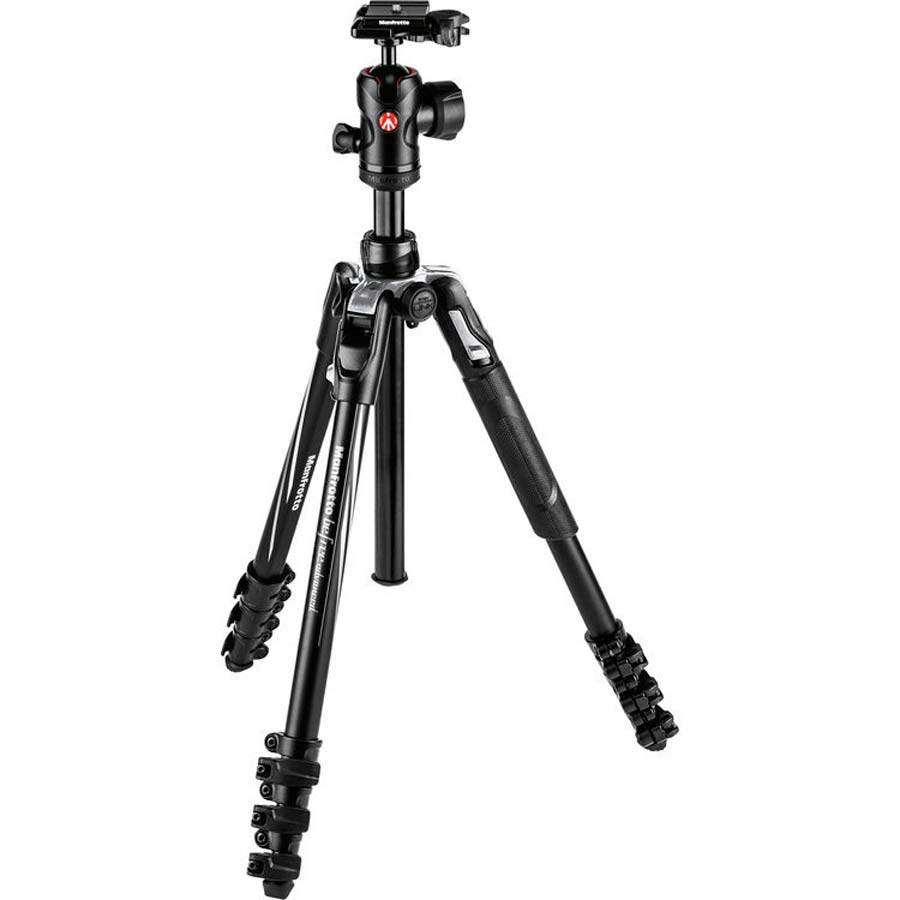
That said, everyone is different, and some people hold a camera steadier than others. If you must use slower shutter speeds, shoot from a tripod or some other stable platform. Alternatively, you can take advantage of modern optical and in-body stabilization systems.
For a more thorough explanation – check out this guide to sharper photos using the reciprocal rule.
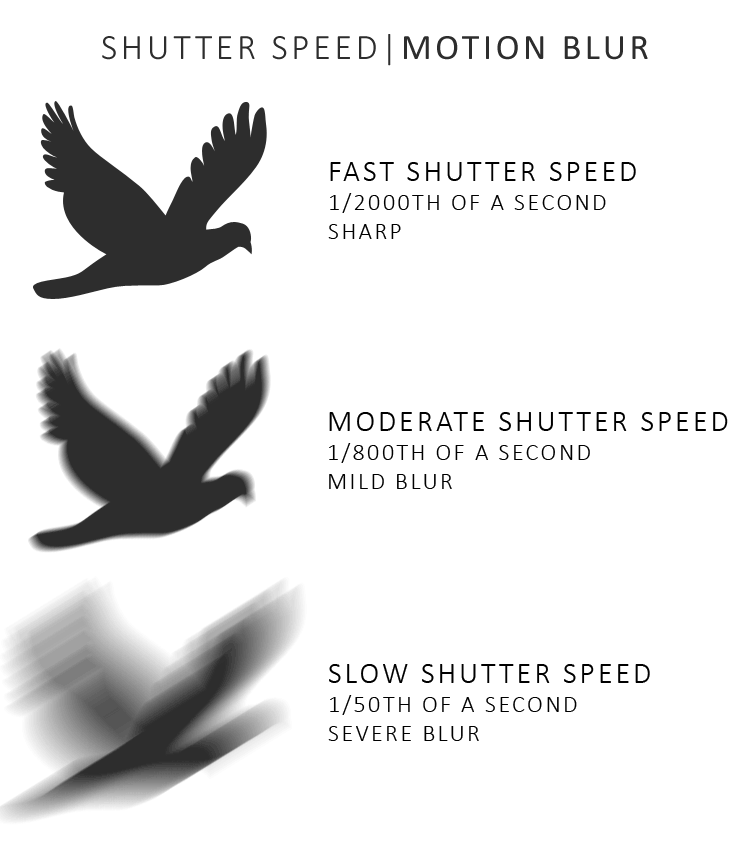
Using shutter speeds to freeze action
Even with a shutter speed of 1/200th of a second, a bird flying at 50 miles per hour (80KPH) will travel more than 4 inches (11cm) throughout your photo’s exposure. As a result, your photo of the bird will be blurred.
To capture a moving subject, you must use a shutter speed fast enough to freeze the action, and the faster your subject, the faster your shutter speed must be.
Of course, this will take some trial and error and you will need to abandon your camera’s automatic modes in favour of shutter priority mode.
To learn more about shutter speed and how to control it, check out this inclusive guide.
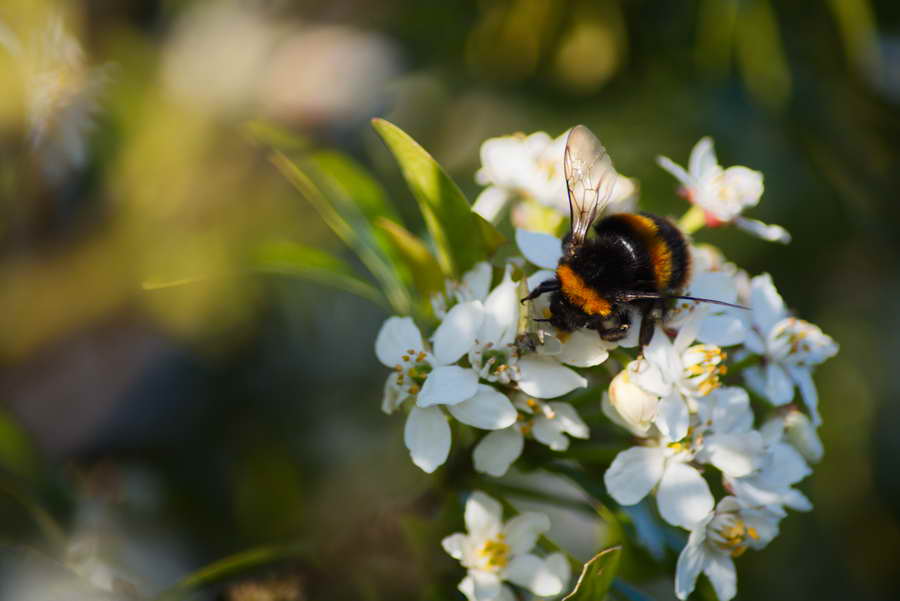
3. Using depth of field for sharp photos
Depth of field is a measure of how quickly focus falls away from your focus point. For example, with a shallow depth of field, even those objects that appear mere inches in-front and behind your in-focus pin-sharp subject appear blurred.
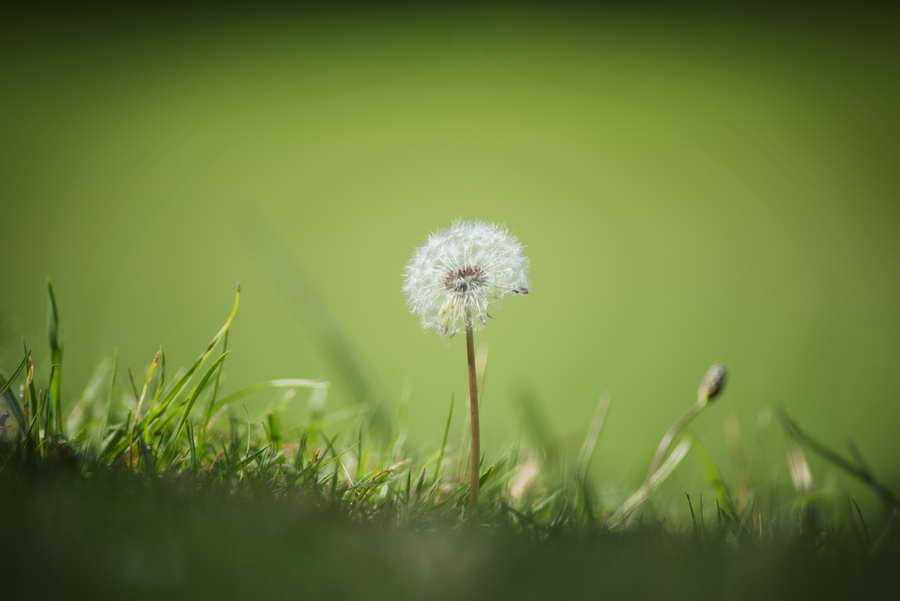
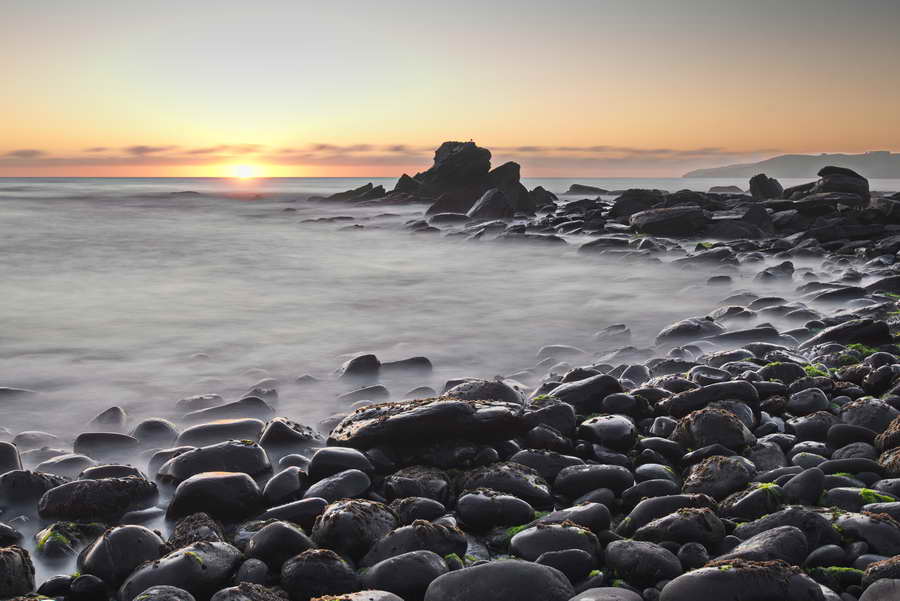
On the other hand, extended depth of field enables you to get a whole scene, front-to-back, sharp and in-focus and is ideal for landscape photography.
Your depth of field is determined by your lens focal length and aperture. Large apertures and long focal lengths produce a shallow depth of field. In contrast, short focal lengths and small apertures provide an extended depth of field.
The challenge depth-of-field brings to photography is two fold.
Shooting sharp photos with a shallow depth-of-field
First, razor-thin shallow depth of fields demands expert precision. For instance, an 85mm F1.4 lens features such a shallow, razor-thin depth of field that you can capture sharp eyes behind blurred eyelashes.
Therefore, your focus must be dead-on accurate. Even the distance between you and the subject must be constant. If either of you moves, even slightly, the change in distance can be sufficient to blur your photo.
Getting everything in focus
How much depth of field do you need to get everything from 3ft to 20 miles sharp and in-focus?
If you don’t know the answer, you might end up with a blurred photo. Happily, I do happen to have a post on Hyperfocal distance which will help you get sharp photos regardless of how vast your scene is.
Learn about Hyperfocal Distance
4. Atmospheric conditions
Hot days are bad for sharp photos thanks to haze-induced diffraction splitting your light in different directions.
In contrast, cold-days provide your eyes and optics with undisturbed, pin-sharp light. A great way to observe the effect of diffraction is to look at the stars. On a warm evening, the stars shimmer like candles yet appear pin-sharp on a cold evening.
Of course, you should take this advice to heart if you are planning on taking photos of the night sky.

5. Gear
If you follow steps 1 to 4, you have the means to take sharp photos with even the modest camera and lens. Yet, there is a lot to be said for mastering the gear you own.
Best aperture for sharp images
All lenses feature an aperture that produces the sharpest results. Typically, a lens ‘sweet spot’ can be found around F5.6 though this can vary depending on the lens, focus distance, and focal length (if you’re using a zoom).
However, you can certainly expect your lens to be softer at its maximum, largest, and brightest aperture and, conversely, at its smallest apertures. Therefore, you will find the best aperture for sharp images somewhere in between.
Avoid blurred photos with a tripod.
A tripod provides your camera with the shake-free stability you never can. If you are photographing landscapes with sharp lenses and high-resolution sensors – a tripod will help you take a sharper photo.
Get rid of the filter
I have observed that UV filters impair sharpness and provoke issues such as lens flare. As a result, I no longer use UV protection filters and now rely on lens hoods to protect my lens’ front element from damage.
Buy better gear
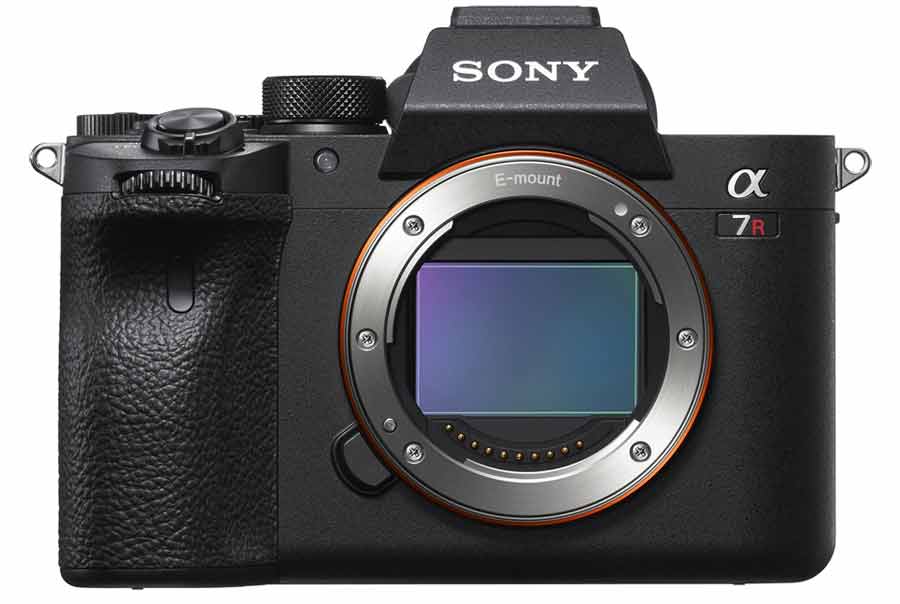
This is the last resort and the most fun of the options listed here. Whether it’s because they have more megapixels, larger sensors or better autofocus systems, more expensive cameras can produce sharper, more detailed photos.
It’s much the same with lenses. Some lenses feature fast, powerful autofocus motors to keep up with fast action whilst other lenses prioritize sharp photos at large apertures. Which is best depends on what you like to shoot.
Cleaner gear equals sharper photos
If your photos are blurry, make sure your lens is not covered in fingerprints. Seriously, treat yourself to a microfibre cloth and make a habit of cleaning your lens between shoots.
Furthermore, use a rocket blower to blast off dust and debris. Left unchecked, dust and debris will usually find its way into your lens or onto your camera’s image sensor.
Conclusion
Your gear is the least likely reason why your photos are blurry and if you continue to avoid steps 1-4, your photos will remain blurred no matter what camera you own.
This is great news for those looking to get the best out of the gear you already own. An awareness of auto-focus and what counts as a blur-inducing slow shutter speed will make all the difference. And while you cannot do much with atmospheric conditions, you can at least appreciate their impact and perhaps, choose your days more wisely.
There is also a chance you are not using your existing gear to its potential. For instance, a sharper photo might only be a matter of selecting a smaller or larger aperture.
Perhaps, you just need to clean your lens?
Yet there are times in photography when getting the shot demands a level of performance beyond what your gear is capable of. In such cases, your only option might be to treat yourself. What a shame 🙂